
Creating AR experiences used to be a difficult process, but thanks to Qualcomm’s Vuforia package its now very simple. That’s not to say everything else around the experience will be as easy, but the tracking element shouldn’t be the difficult part of the project. So I would like to show you all how to easily create a basic AR experience in 5 minutes. Best of luck!
This will run on your Unity Editor, iOS device or Android device (that I’ve tested!)
Step 1: Sign-up to Vuforia
This first step is fairly simple, head to the Vuforia Registration page and sign up with whatever details you want.
Once you’ve done that, head to the license manager page.
Step 2: Grab yourself a license!
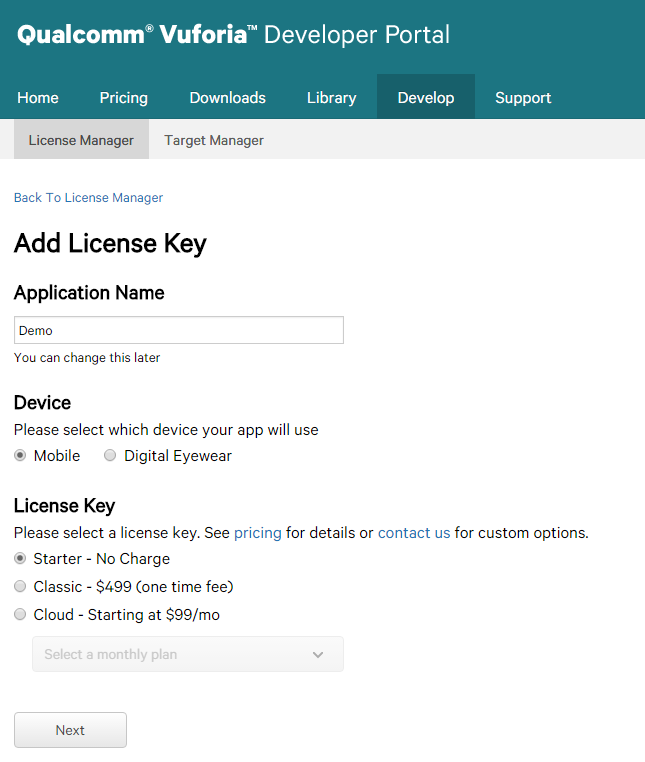
Hit the “Add License Key” button to create a license. This will prompt you for an Application Name, Device and License Key type.
For now, name your application anything you want. Set the device to Mobile and keep the License key type set to Starter.
Now hit the “Next” button
Accept the Terms and Conditions and hit the “Confirm” button.
Step 3: Download the SDK
Now you need to download the SDK for Unity. Simply head to their Downloads Page and select the Unity SDK.
Again, agree to their Terms and Conditions and your download will begin.
Step 4: Import the package into Unity
If you haven’t done so already, create a new Unity Project and load up the editor.
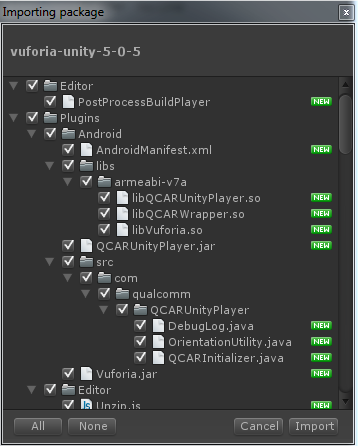
Now double click the package you downloaded, Unity will prompt you to import everything into the editor.
Simply press the “Import” button and everything will be added to your Unity project.
Step 5: Adding the AR camera to the scene
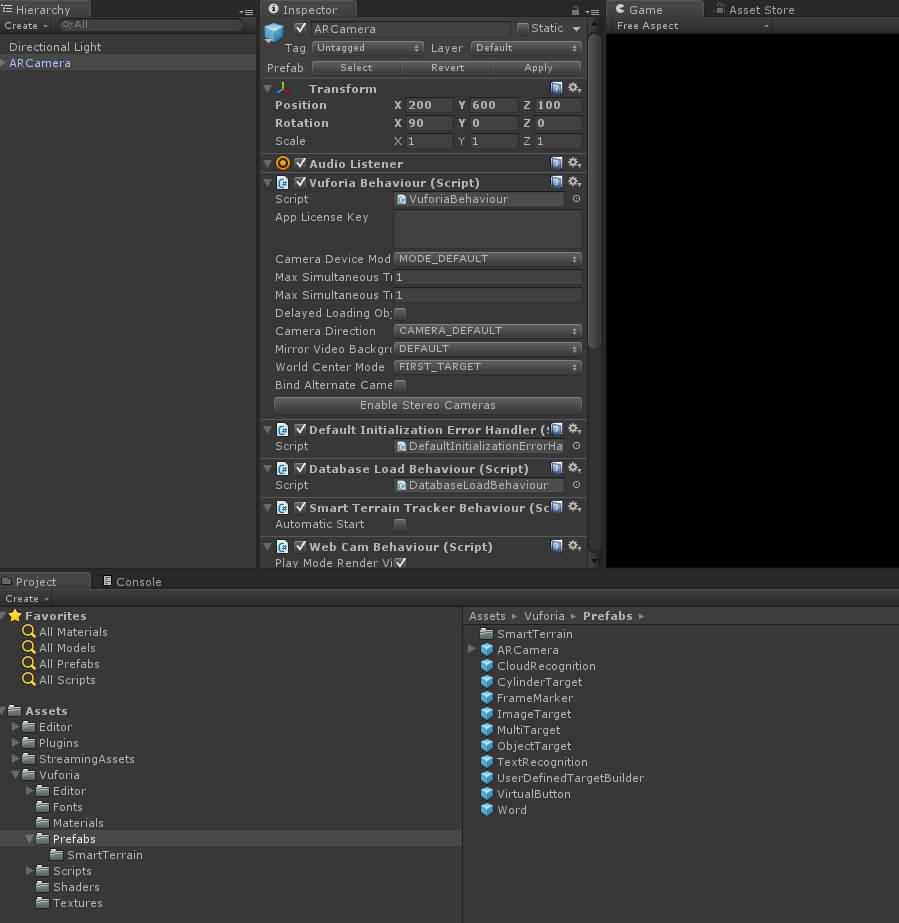
Create a new Scene (Control + N) and drag the ARCamera prefab from the folder Vuforia > Prefabs.
Your scene should now look like this.
Step 6: Copy your license key
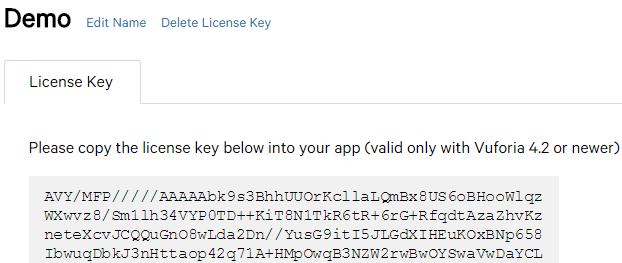
Head back to the Vuforia License Manager page and select your new license you created earlier. Now copy the license key the site presents you with.
Step 7: Paste it into Unity
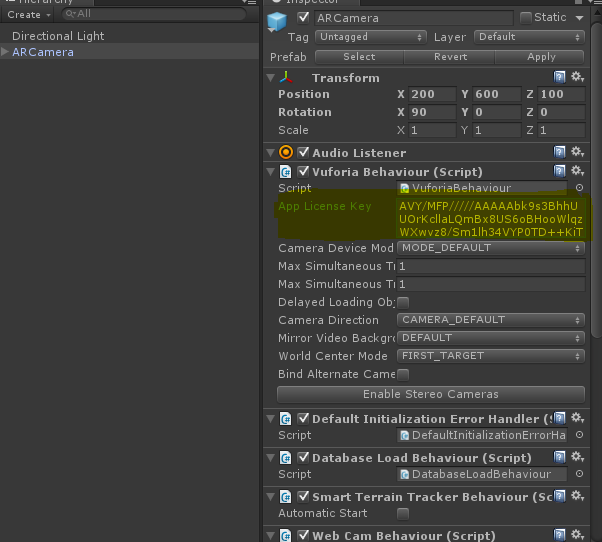
Select the ARCamera object in your scene, and paste your license key into the “App License Key” section of the Vuforia Behaviour Script.
Step 8: Add in your markers
Now for the fun part, creating markers! They can be any image you can think of, generally images with more distinctive points (less repeating patterns) are scored higher. For the sake of this tutorial, download this image.

Step 9: Upload to Vuforia

Head to the Vuforia Target Manager page now and press the “Add Database” button, Set the name to anything you like and set the type to “Device”.
Select your newly created database from the list and you will now be presented with an “Add Target” button.
Select the Single Image type, set the file to the image you downloaded earlier, the width to 1 and the name to anything you want.
Finally, press the “Add” button.
You will head back to the database listing page, and it will show your marker as processing. Give it a few minutes and then refresh the page. You will have a 5 Star marker waiting to use.
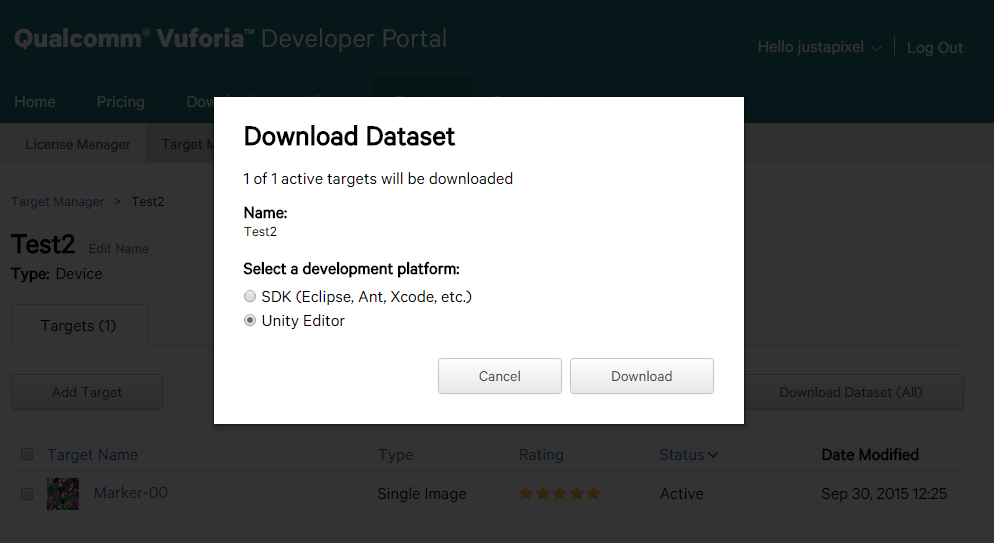
Now press the “Download Dataset (All)” button and select “Unity Editor” then Download.
Step 10: Import your database into Unity
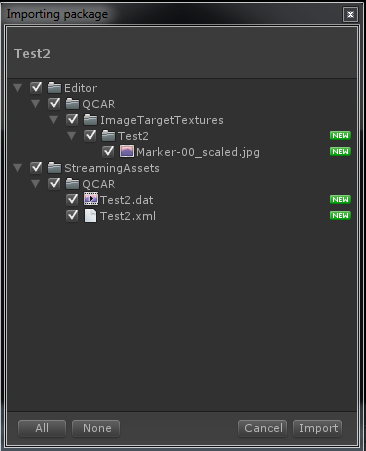
Double click your newly downloaded Unity Package and import it into Unity as you did before.
Select the ARCamera object in your hierarchy, under the Database Load Behavoiur and select Load Data Set “Your Database Name”, then tick the Activate button under it.
Now, select an ImageTarget prefab from the Vuforia > Prefabs folder and drag it into your scene.
Notice how the Image Target Behaviour script has a Data Set and Image target value of “–Empty–“. Click the dropdown bar on Data Set and set it to the name of the database you created earlier. The image target will automatically change to the marker you just created.
For the ease of presentation, set the width and height to 10.
Your scene should now look like this.
Step 11: Adding objects to your markers
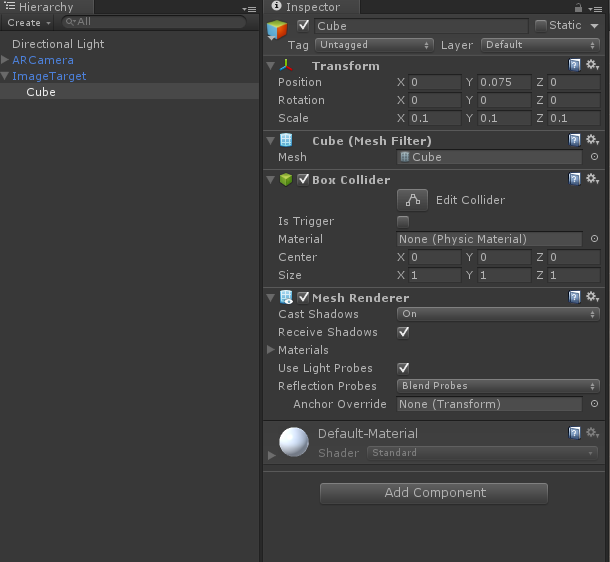
Create a cube object (GameObject > 3D Object > Cube) and set it to be the child of your ImageTarget. You can do that by dragging the cube object in the hierarchy on top of the ImageTarget object.
Now set the cubes position to 0, 0.075 and 0.
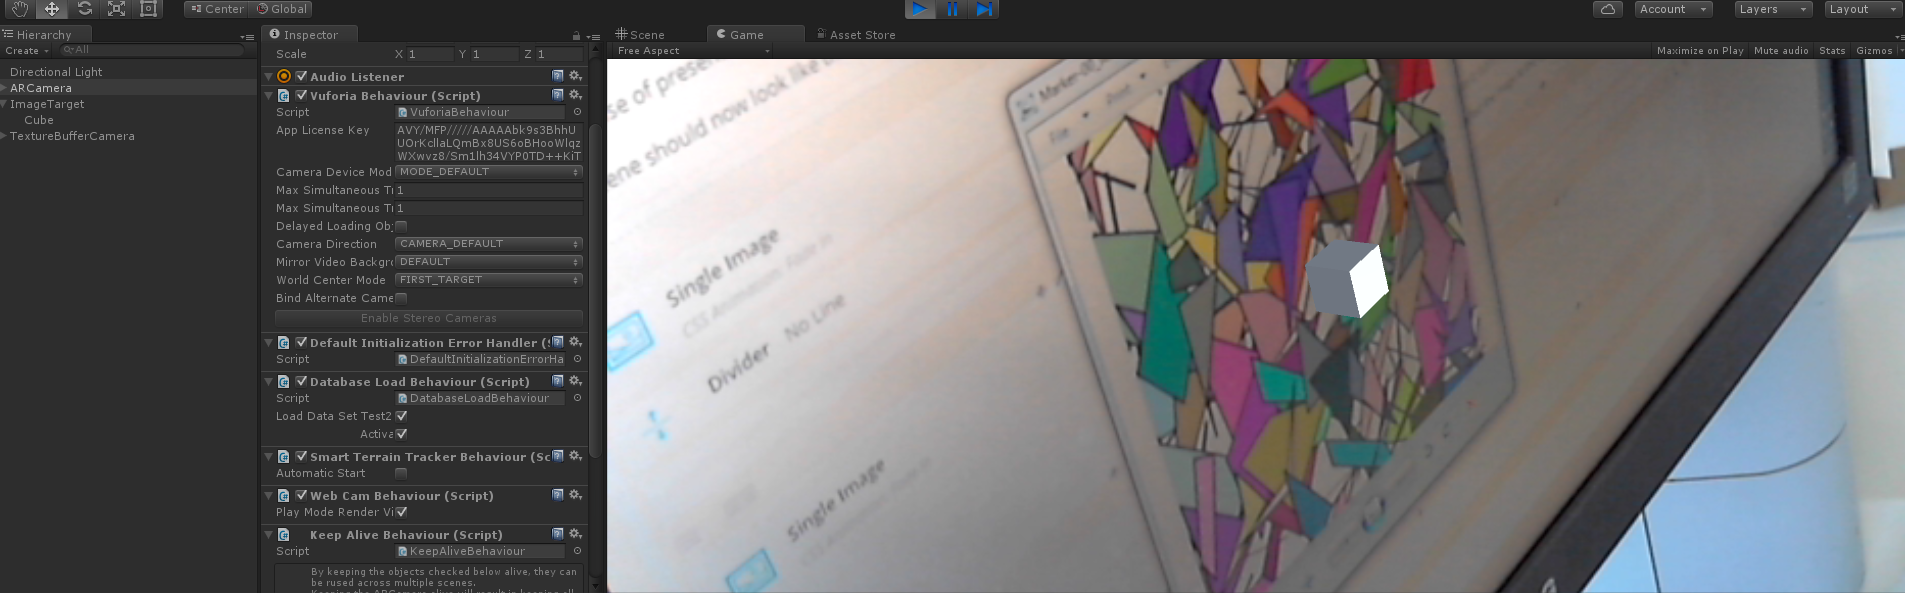
Your settings should now reflect the image to the right.
Step 12: Done! Play!
Congratulations, you’ve created an AR experience! Simply print out the marker I provided, connect your web-cam to your machine and hit play. If you followed the guide, you will be able to see a tiny cube floating about the marker.
Step 13: Share your creation! (Optional)
Personally I love to see what people can do with this tech, so drop me a tweet to @DGoodayle with an image of it!
Also, if you want to share this guide, please do! I think concepts like this should be available to everyone, not just those who know about it.
Alternatively, if you are looking to create a unique AR experience and would like a little help going over the details (or would like us to make it with you) please drop us a line at contact@justapixel.co.uk
Best of luck everyone!
Danny

Recent Comments